Sunday, March 25, 2012

The Shape of Things


For the past few weeks I have slowly but steadily tracing, fusing and cutting out a variety of shapes for my crumb block quilt.

As you can see in the first photo I am using 9 different shapes. These will be used in the border of the quilt. Based on my estimates I will need about 140 shapes to cover all four border sides.

This second photo the the collective pile of all the shapes I have finished so far. Only a few more to go and I can start lying them out and pinning them in place.

Wednesday, March 14, 2012

Yet Another Way to Make 8-Pointed Stars


This method uses Deb Tucker's Rapid Fire Lemoyne Star ruler. She has instructional videos posted on YouTube that go through the whole process of this technique. Here are the video links for Part 1 and for Part 2.

This method uses strip sets. Here are my strips. As I am using fabric from my scrap piles it took me a while to find strips that I figured would be long enough. So this method will not really work if you are planing on using smaller scraps to make the diamonds.


With this method after you sew the strip sets you do a bunch of cutting. Her directions also provide specific pressing instructions so that the seams will nest if you alternate the two strip sets.

If you wanted to be more random you could use a variety of colors, but perhaps make all the warm colors as 'A' strips and all cool colors as 'B' strips to be able to use this method but still get to mix up the star point colors, yet have them still nest as they should.

My strips were not quite long enough and one of my diamond shapes didn't come out after I cut my strips. I tried to rip out the short section and replace it with a bigger piece of fabric - this proved really difficult, so make sure you have more than enough fabric because trying to 'fix' a short piece is not worth the effort. (In the end I was able to make it work).


As with the other methods you work to make quarter sections of the stars, and then sew the quarters together.

With this method you do get a little extra around the outside edges so you can accurately trim your block to the exact size. The ruler comes with cutting instructions for different sized blocks.


Here is my finished block.

Again the points lined up nicely.

There is a little bit of waste, the end bits when you are cutting your strips and the final trimming of the block. Compared to the other 2 methods already tried it is more waste than the first method, but a lot less than the second method.

Tuesday, March 13, 2012

A Second 8-Pointed Star Quilt Block Option


The second method of making 8-pointed stars I tried comes from Nancy Johnson-Srebro's book Stars by Magic. I bought this book shortly after I began quilting but this is the first time I have used it. I tend to be aspirational in by quilt book and pattern buying - I liked star quilts and figured I would have the courage and skills eventually to try these.

One of the pluses of this method (if you are wary of working with 45 degree angles) is that you start with squares and rectangles, not diamonds. Another plus is that the book includes listings for a wide variety of block sizes (from 4 to 18 inch blocks) with the corresponding cutting instructions.


After you cut all your pieces follow the instructions to put them together. Again I was alternating blocks so I had to be careful to layout and sew the sections the same way each time.

While you start with squares and rectangles, you will need to mark and sew diagonally a few times for each quarter section. My machine tends to like to eat those first diagonal corners so chain piecing helps minimize this problem.


As with the last method, working in quarters is best. Here is my first quarter and next to it is the 'waste' left over from the block construction.
So this is one of the negatives - quite a bit of waste.

Another consideration is the direction of the prints. With fussy cutting diamonds you have a bit more control, with this method it would be a bit more difficult to line everything up the way you would like.


Here is the finished block. I was a bit shy on one quarter so it is not exactly 12 1/2 inches, but it was within a 1/8 inch fudge factor.

I also think the center points on this version came out a bit bulkier than the previous method.

One other issue for me was the need to keep changing the needle position to alternate between centering the needle for sewing on the diagonal lines and the 1/4 inch setting for sewing the regular seams. (I usually don't catch that I need to change the setting until the needle starts going through the fabric).

The points did come together as well as the other method.

Not sure I would use this method just for a plain 8-pointed star because of all the waste. One of the strengths of this book though is that she has lots of alternate styles for 8-pointed stars (multi-colors and different layouts) that would be worth making using this method.

Sunday, March 11, 2012

Exploring 8-Pointed Star Quilt Block Construction Options

I have wanted to start working on making 8-pointed star blocks for a while. The Y seams technique is a bit intimidating so I have been looking at alternative construction methods. The 8-pointed stars are made of 45 degree diamonds. These blocks are also sometimes known as Lemoyne Stars. There is a method using half square triangles, but I am more interested in using the full diamond shapes.

To start I used the Fast 2 Cut 3 inch Diamond Ruler. Pictured here. I went through my scrap bag and alternated a yellow star fabric with other colors.


This first construction method experiment is based on one of the techniques in Jan Krentz's Quick Star Quilts & Beyond book called "Stars without set-in seams". Unfortunately the book does not provide cutting or size guidelines unless you are using one of the patterns. So I made some estimations based on my original diamond shapes.

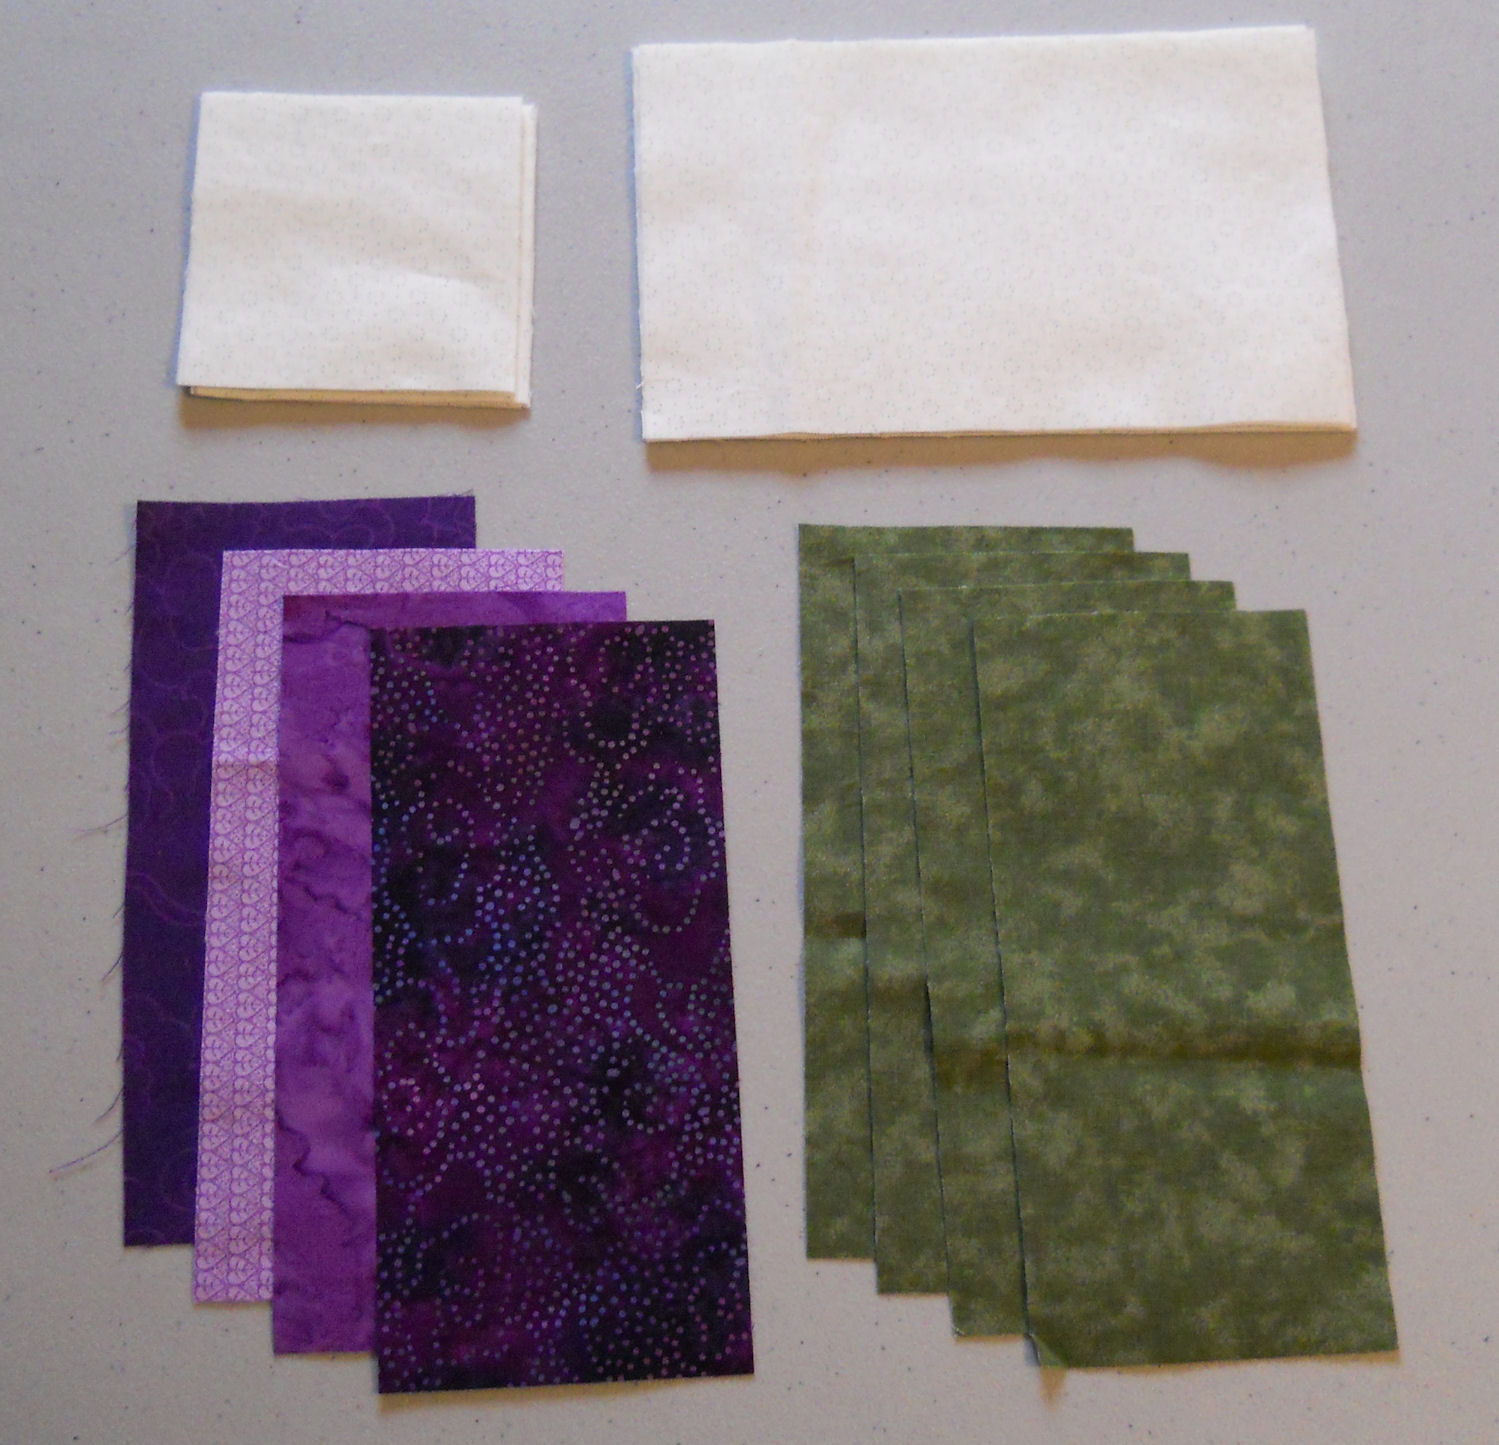
For the background pieces I used a 3 1/2 inch square and a 5 inch square, both cut diagonally.


It helps to work building this block in quarters. The block is made up of 4 quarters, each with 2 diamond shapes, and 2 each of the background pieces (a total of 6 pieces).

Take 2 of the smaller background triangles and sew them to the outside edges of the diamond shapes. You are using the center of the cut shapes lined up with one edge of the diamond.

When these were sewn on I pressed toward the diamond.


For the other background pieces you will be using the side edge along the diamond (see photo). These pieces are slightly over-sized, but I would much rather have a little extra to trim than to have to seam rip and re-sew.

This time I pressed the seams towards the new background pieces. (Note my pressing is not the same as recommended in the book).

I then used a ruler to trim the extra background to match where the yellow and red diamonds come together.


I then sewed the center seam together. For this block, since I was alternating every other diamond, I always pressed the seams to the yellow diamond side at this stage of the construction.

I left the extra fabric on the outer edges for squaring up once the entire block is together.


Here are the 4 quarters I made using this method. From here I joined the 2 blocks on the left and the 2 on the right to get 2 halves. In this case I again pressed the seams to the yellow sides.

Then sewed the 2 halves together and then trimmed the final block down to a 13 inch unfinished block (giving you a 12 1/2 inch finished block).


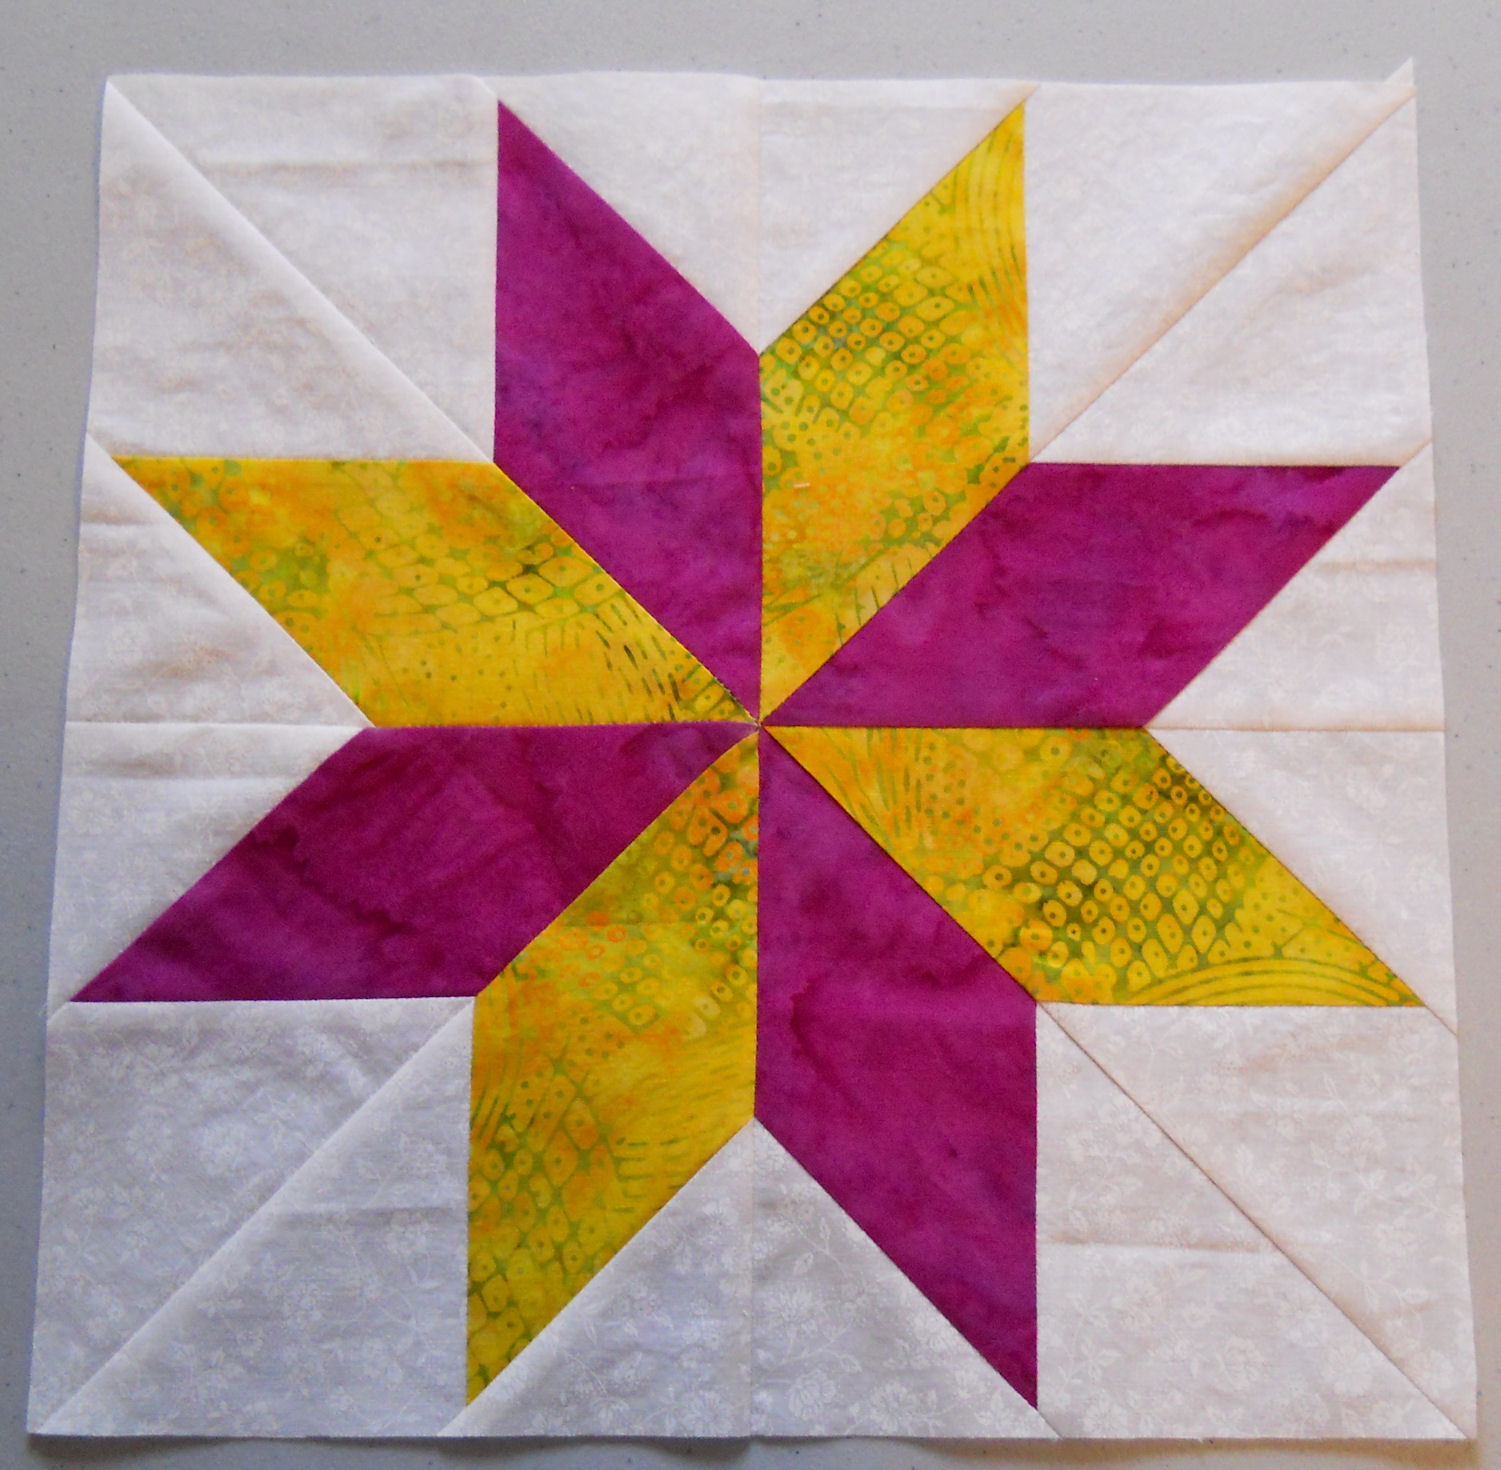
Ta Da! Here it is my first 8-pointed star block.
The points all come together nicely and it was easy to keep the colors in the order I wanted them in.

The down side to this method is that I don't have any alternate size calculations so making a different sized block like this will mean further experiments to be sure the sizes are correct. But then again 12 1/2 inches is a pretty good size to work with.